


Barcelona, capital del crimen
Según algunos datos recopilados del Ministerio del Interior, en lo que va de este año 2024, se han registrado más de 45.000 infracciones penales, 8.000 más que durante el periodo…
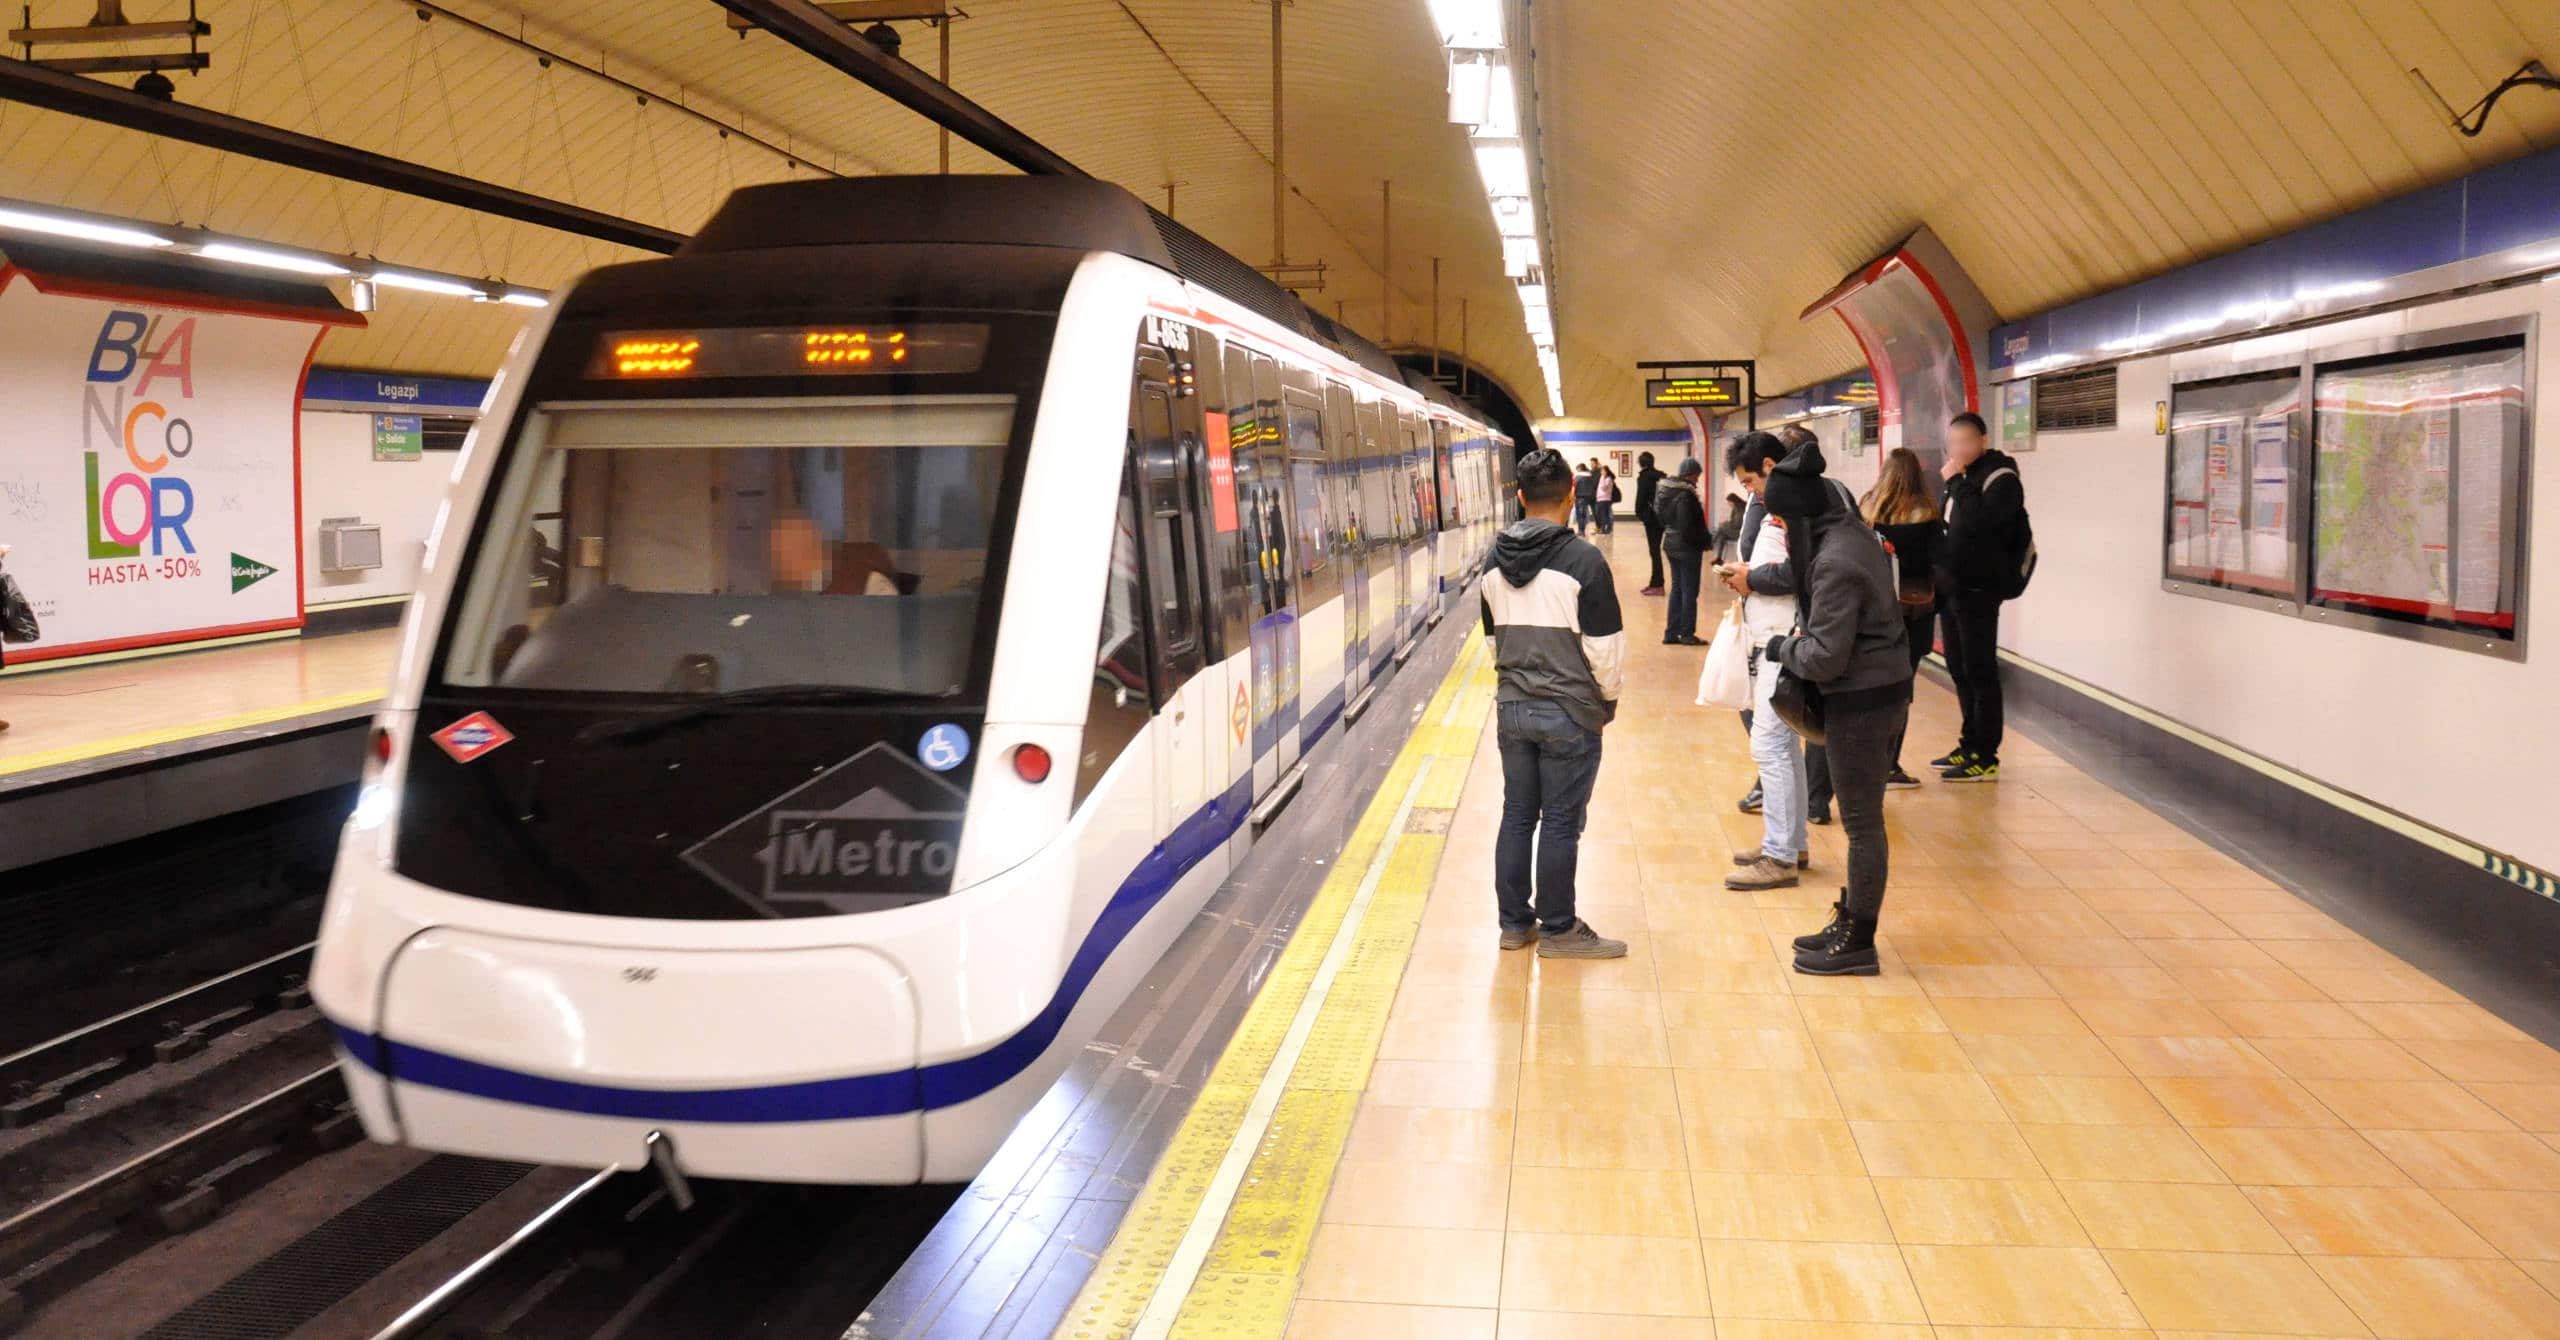
Metro de Madrid sin maquinistas
El Metro de Madrid causará un impacto a los trenes sin conductor antes de que termine esta década, las líneas 6 y 8 abren la puerta a una tecnología que…
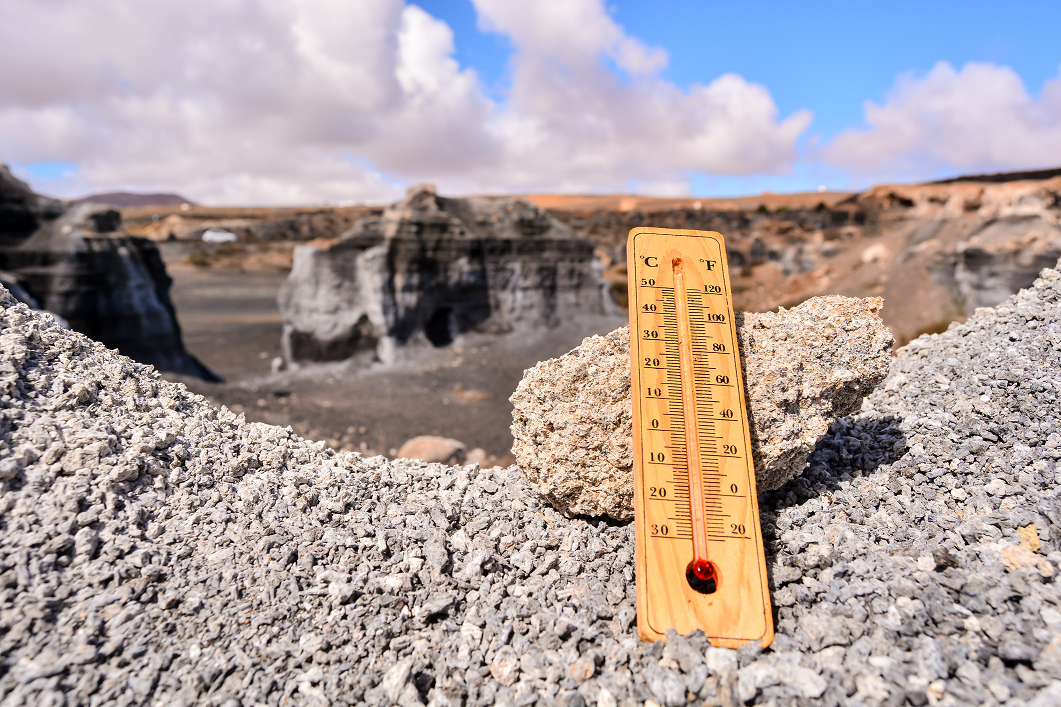
El futuro incierto de las ciudades costeras españolas frente al cambio climático
El cambio climático es una realidad que está impactando de manera significativa en todo el planeta. Una de las consecuencias de este fenómeno es el aumento del nivel del mar,…
Tren español que usa el hidrógeno
Este proyecto liderado por Talgo abordará los retos tecnológicos que plantea adoptar el hidrógeno renovable en el transporte ferroviario. Son más de 4000 kilómetros operados, la red ferroviaria de España…
Previsiones en el invierno para la segunda semana de diciembre en España
El invierno se instala en la península ibérica, marcando el paisaje con temperaturas más frescas y cambios en el clima. La segunda semana de diciembre se presenta como un periodo…
Cadena inteligente para proteger la bici, moto o casa
La cadena inteligente es de alto rendimiento, pues permite abrir y cerrar la puerta desde el teléfono gracias a la conectividad bluetooth, además hay que destacar que este tipo de…
Responsable de 11 robos con fuerza fue detenido a mediados de septiembre
Los robos con fuerza se han mantenido siempre presentes, siendo uno de los delitos más comunes en Barcelona, a pesar de que los cerrajeros profesionales ofrecen toda la asesoría posible,…
Level Lock, una cerradura inteligente con un hermoso diseño
Level Lock es la cerradura inteligente que muchos cerrajeros profesionales están recomendando a aquellos usuarios que desean reforzar la seguridad de su hogar u oficina con una cerradura moderna, pero…
Tipos de cámaras de vigilancia interior para casas
En el mundo de las cámaras de vigilancia se encuentran varios tipos, por lo que es necesario asegurarse de cuál conviene más a la hora de realizar la compra. Por…
El sistema de seguridad SimpliSafe para su hogar
SimpliSafe es un sistema de seguridad que ofrece un excelente sistema de monitoreo, recomendado por los cerrajeros profesionales para aquellos propietarios que están en la búsqueda de una opción sin…